ASSEMBLY MANUAL – page 2
Grand-Son of Woodstock
|
|
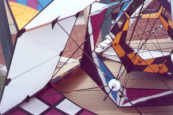

5. Install the rear spreader marked in the center with 1 red & 1 blue band into the APA connectors located on the ferrel stick you installed in step #4; and then install the vertical rudder stick marked green, blue, green, red into the rudder adjustable connector and the into the top of the rear TT. Kite should look like photo #5
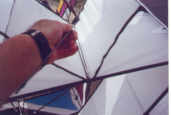
6. Go back to the front and install long sticks marked with 2 white bands to each bottom corner by threading sticks thru sail holes to top of TT. First adjust all 4 wing adjusters and rudder adjuster to snug up sails; then last adjust the 3 corners of the front sail using the tensioner beads at each corner. Kite should look like photo #6.
|
|
|
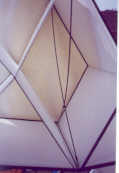
7. Install whiskers, two 19” pieces of .09 micro-carbon held together with o-rings, at six places on the front sail. This step takes a little getting used to, be careful not to accidentally pierce the sail. Hold per photo #7A and insert into tubing on short longeron per photo #7B by carefully bending the sticks. Finish the other 5 sets likewise in each of the cells with tubing on the longerons. kite should look like photo #7C
|
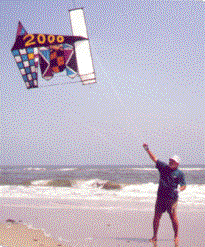
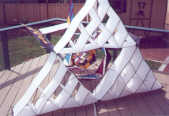
8. Go Fly...kite should look like photos #8 with you instead of the “Old Man”.