The nose on the Pizazz is made of 3" wide 3.9 ounce black dacron. It is reinforced inside with a 1 1/4" x 4" piece of self adhesive kevlar stuck to the black dacron. The self adhesive kevlar is available from Tom Marvin at Hang-em High Fabrics or you could probably email me and talk me out of a teensy piece.

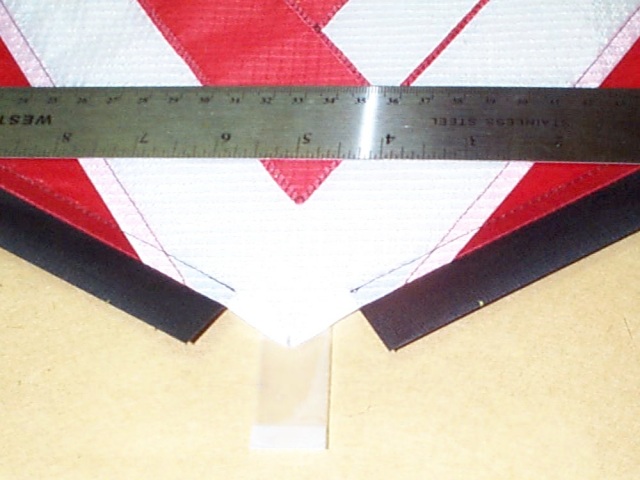
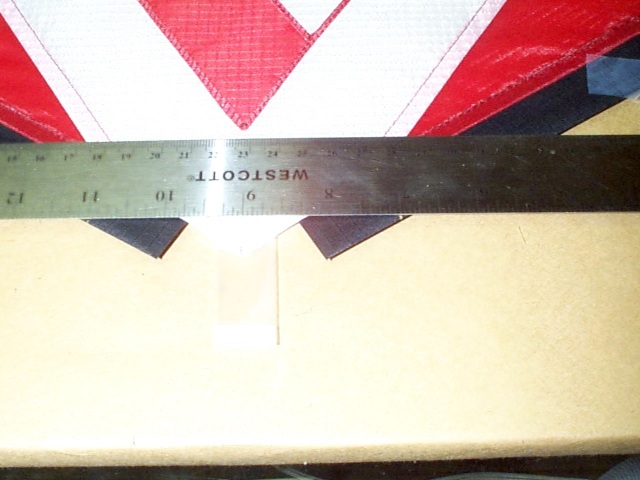
Tape the sail face down on your cutting surface with the nose toward you. Measure along the outside edge of the leading edge from the nose down 1 1/8" and make a mark. Do the same to the other side. Cut the nose off along a line between these two points. This should leave you approximately a 4" wide nose and cut off just the tips of each leading edge and the sail center.

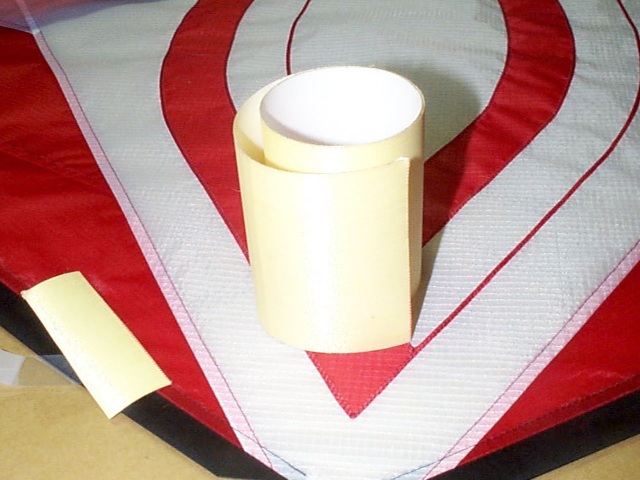
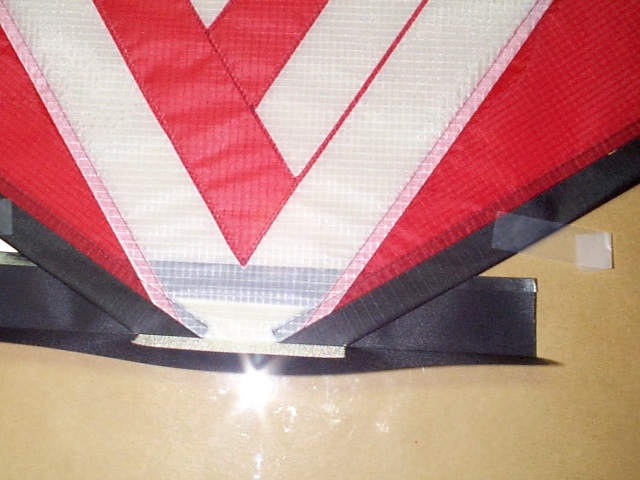
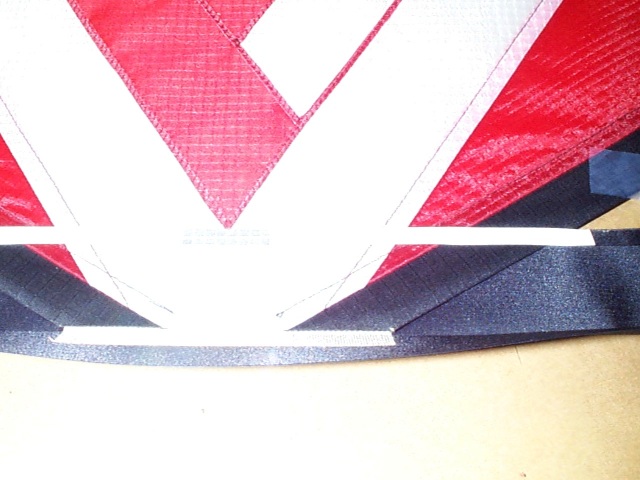
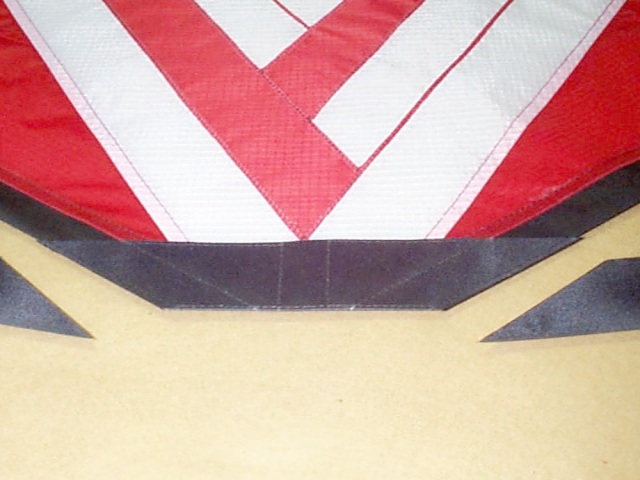
Cut a 1 1/4" wide piece of self adhesive kevlar from a 4" wide roll. Cut a strip of 3" wide 3.9 ounce dacron 11" long and fold it down the center. Stick the kevlar to the inside of the fold on the black dacron, centered from side to side and end to end. Run seam stick tape along one edge of the dacron. I generally re-crease the dacron at this point to make sure I have a nice crisp 90 degree bend. Remove the paper backing rom the seam stick and slide the nose piece under the sail with the taped edge of the dacron going under the nose. We have the sail face down so we do not tape the pocket for the spine shut. When you have the nose aligned on the kite with the kevlar reinforcement centered and up against the kite press the kite into the seam stick and smooth it down. Once you are satisfied that the nose is in the correct location add seam stick to the top of the kite and fold the nose over flat. Do not put seam stick over the area where the spine pocket will be.
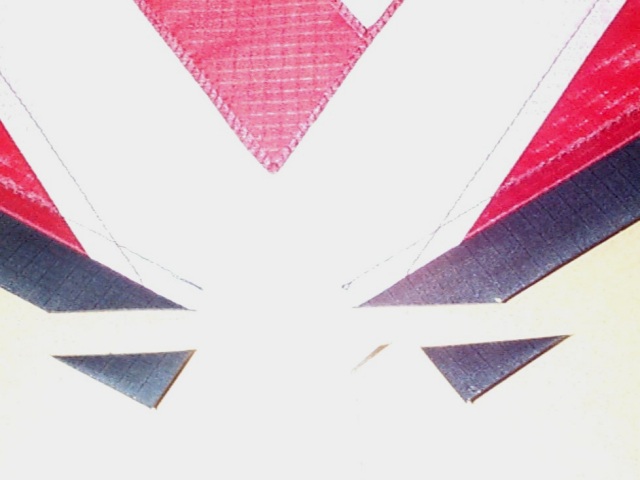
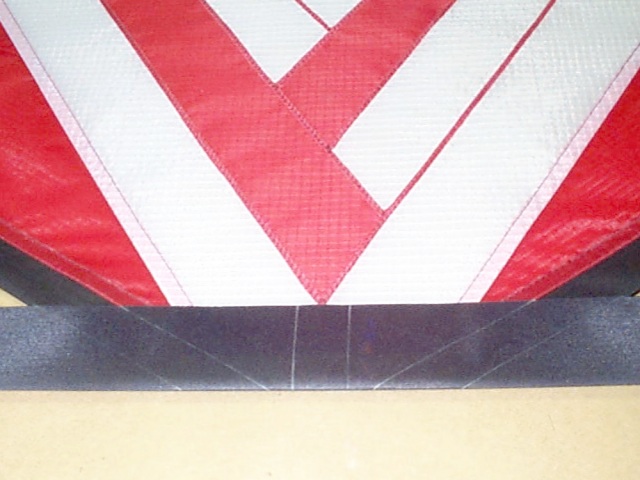
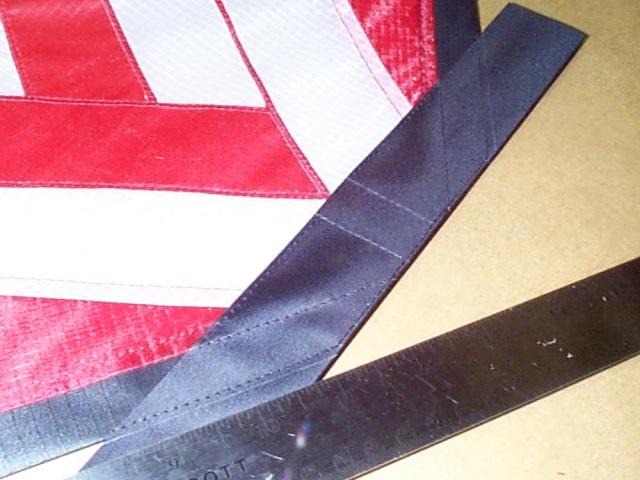
Draw the sewing lines on the nose. The outside stitching line is drawn just far enough from the edge to be comfortable to sew. The lines on the inside of the leading edge pockets are extensions of the seams sewing the pocket to the kite. The seams for the spine pocket are 3/4" apart and are centered on the center line of the kite. The nose can be sewn in one continuous seam as shown above. Starting at the outside edge (1) of the leading edge tube (upper right hand corner of the nose as you see it pictured above). Sew along the edge to the tip of the nose (2), across the nose to the edge of the spine pocket (3) and down the spine pocket (4). Sew across the bottom of the of the nose to the inside of the leading edge pocket (5). Then sew along the inside of the leading edge pocket back to the top of the nose (6). Sew across the top to the other side of the kite (7) and down the inside of the second leading edge pocket (8). Sew back toward the center of the kite to the edge of the spine pocket (9) then up to the tip of the nose (10). Sew along the tip of the nose to the outside edge of the second leading edge tube (11) then down to the bottom of the nose along the outside of the leading edge (12). With a straight edge mark a line parallel to your leading edge for cutting. You just need to leave enough room so you don't cut your stitching. Trim the excess away from the kite with a hot knife.This completes the nose.