Sorry about the long delay between chapters.
In similar fashion continue aligning the sail pieces. Lay the lower two wing panels face down on the surface and put seam stick on the back of the panel. Place the upper wing section on top of the lower two face up. Then sew, cut away, fold and finish the seam.
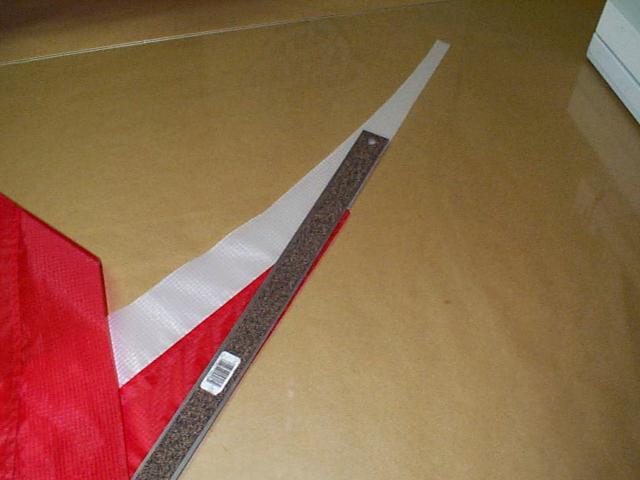
The templates for the wing have a built in error, hence so do the wing sections. We will correct this error now. The middle wing section is longer than the lower wing section and this will be noticeable at the wing tip. Lay a straight edge along the leading edge of the wing from the top of the lower wing section to the bottom of the upper wing section. You will notice a small amount of cloth extending beyond the straight edge. Cut this off using a razor blade or hot knife. This should be a straight cut making a smooth edge between the upper and lower wing sections.
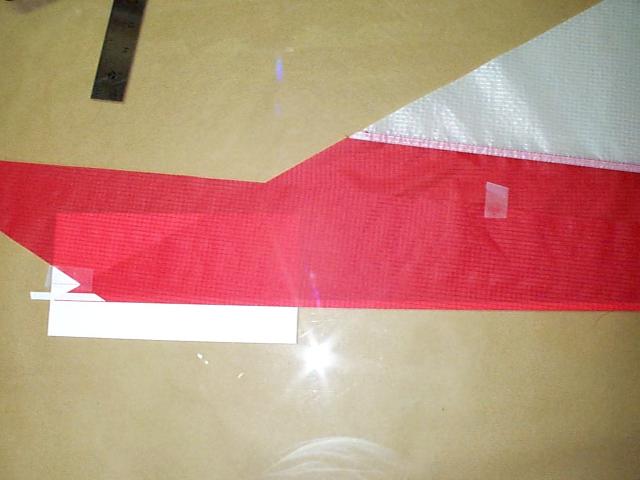
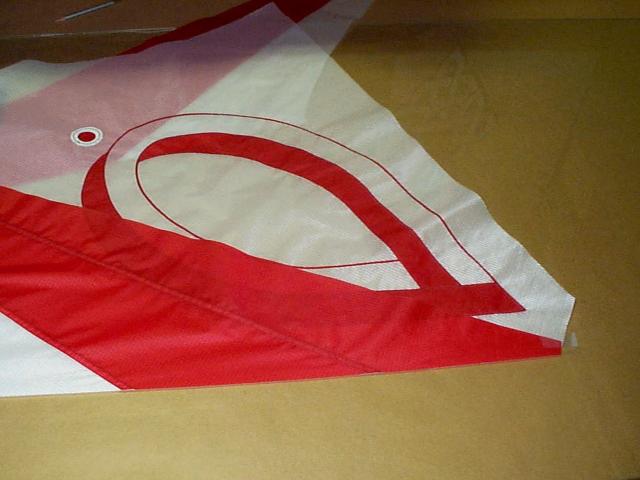
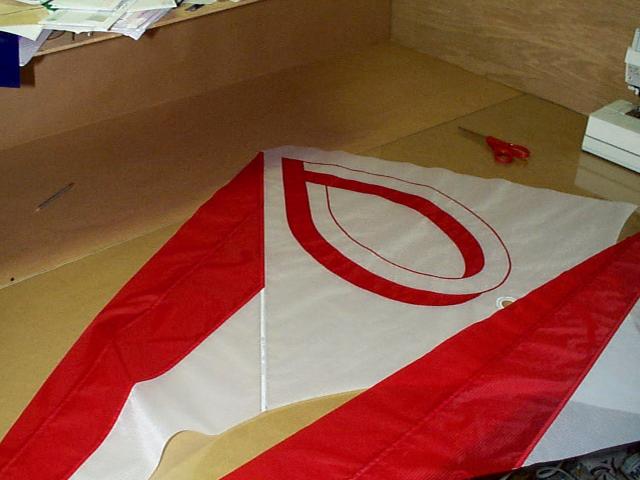
Once both wing pieces are assembled lay the center sail face down on the working surface and apply seam stick to the edge. Next place the wing on the center sail face up. The three images above show the proper alignment of the wing sections. Again, due to minor sewing errors the wing panels may not align properly. If everything is correct the upper tip of the wing should cross the top of the center sail as shown in the center picture. The bottom of the wing should cross the lower portion of the center sail as shown in the picture on the right. If this doesn't happen, don't worry too much. The important thing is to align both wings on the center sail so they are even at the top of the center sail. Leave any discrepancy at the bottom. Sew the wings to the center sail just as we sewed the wing sections together. Note here when you roll the seam between the center sail and wing section you have two choices. One being to roll the seam toward the center, the other being to roll the seam away from the center. There are two considerations here. If you have a lighter colored center sail than wing the seam doesn't look as good rolled out. The second consideration, believe it or not, is it affects the way the kite flies. Rolling the seam toward the center sail gives the kite a little more stability and flies a little more precisely. That has to do with the position of the standoffs. We will discuss that later.
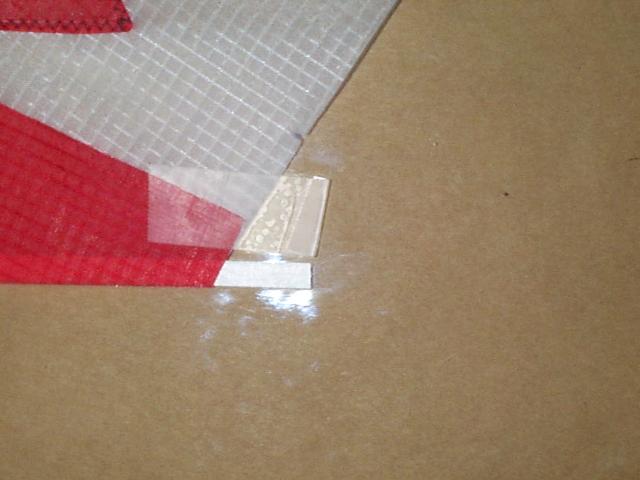
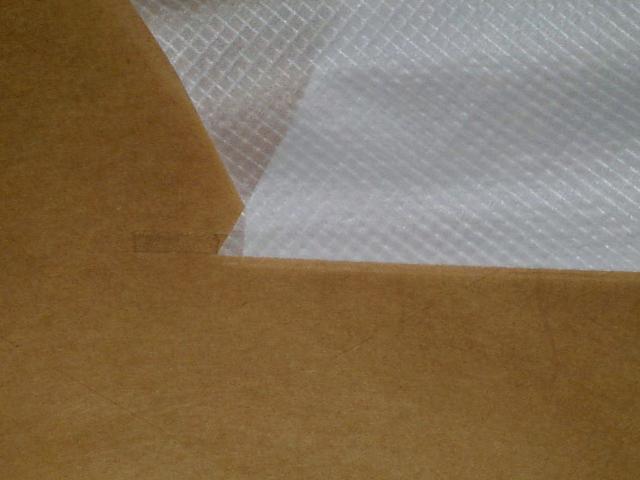
Once you have the wing section sewn on it should look like this. If the bottom of the seam doesn't match exactly, trim the excess off in a smooth curve. Sew the other wing on and we have the sail completed and are ready for the leading edge.
Making the Leading Edge
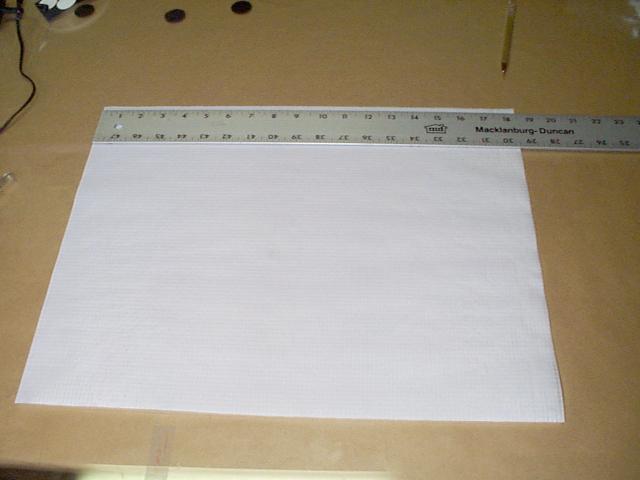
the leading edge strip is 3"x62.5"
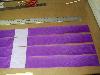
First let me tell you that when I sit down and seriously make leading edges it takes me 40 minutes to make the leading edges for one kite. This isn't a quick project.The black 1.5 oz rip stop nylon didn't photograph very well so I'm going to be making some soft purple leading edges. I'll try to make sure that I don't confuse anyone. These first few steps are important to anyone that is making leading edges from sail cloth rather than 3" leading edge strips.
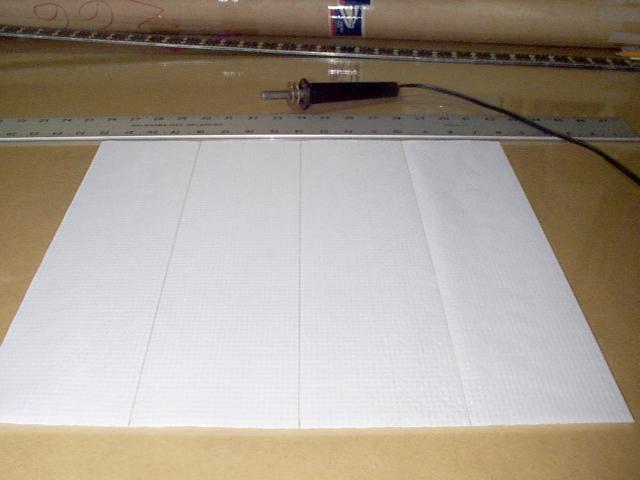
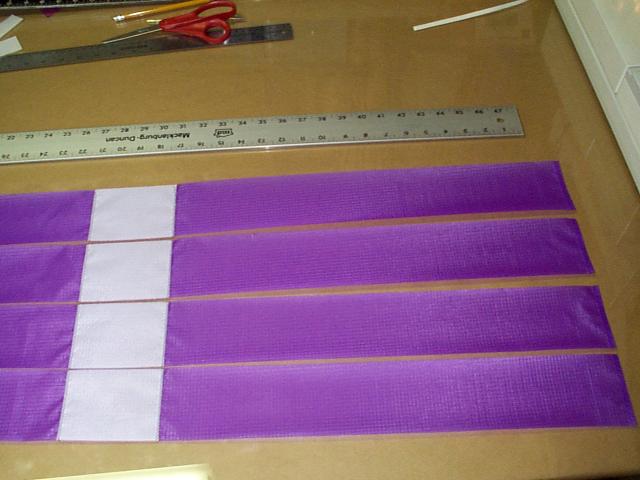
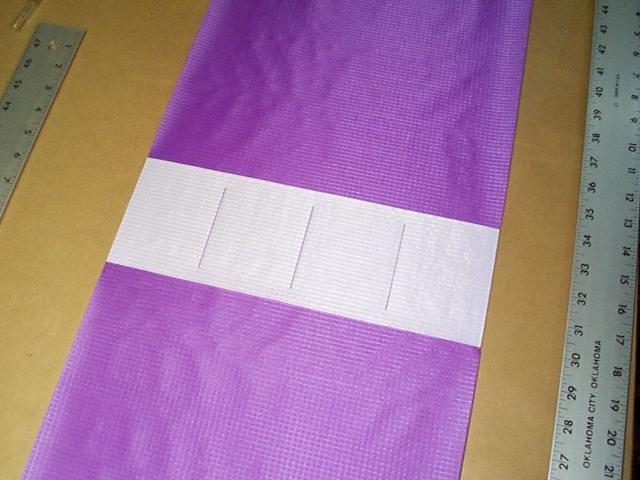
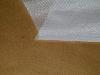
I always put reinforcement material around the leading edge cut outs. This reinforcement material goes inside the leading edge. For 3/4 ounce leading edges I make the reinforcements from two layers of white 3/4 ounce rip stop. To do this I lay two layers of material down, one on top of the other and hot cut it into 4" wide strips long enough to span all the leading edges I'm making at the time and have a little overlap. It is very important to hot cut these pieces as it seals them together so it is effectively one layer of cloth. In this example I am making two sets of leading edges and each leading edge will be 3" wide. This is a 14" wide piece of cloth. We will need two strips, one for the upper leading edge cut outs and one for the lower leading edge cut outs. In this example I am making 4 strips 4" wide because that's how much cloth I had laying around and because I told rodbuggy I'd send him some. I use white because it shows the least when the kite is in the air.
For making 1.5 ounce rip stop nylon leading edges you will need two 3"x62.5" leading edge strips and four 2"x4" 3.9 ounce dacron reinforcement pieces.
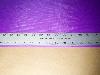
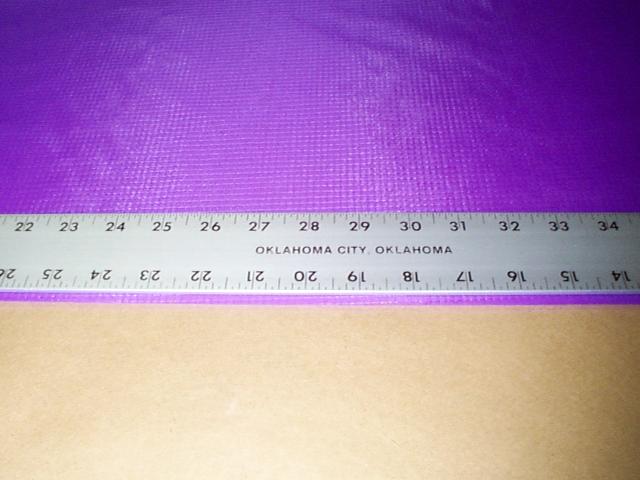
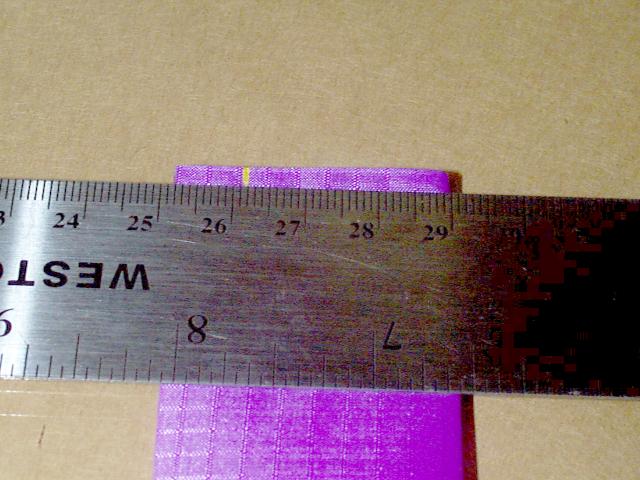
Start out with a leading edge strip 3"x62.5" with nice square ends. In these examples I started with a 12"x62.5" strip and later cut it into four 3" strips. To put a nice end on the wing tip end put 1/4" wide seam stick along the end and fold it over then sew it. Once the end of the leading edge is folded over your leading edge should be 62.25" long. Measure up the leading edge strip from the wing tip end to locate the areas to reinforce for the cut outs. Mark these places. The lower leading edge reinforcement is placed between 18.5" and 22.5" up from the wing tip. The upper reinforcement is placed between 47.25" and 51.25" up from the wing tip.
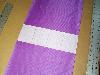
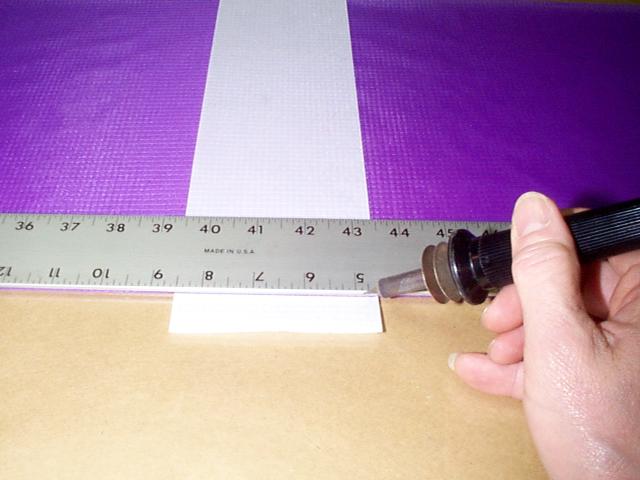
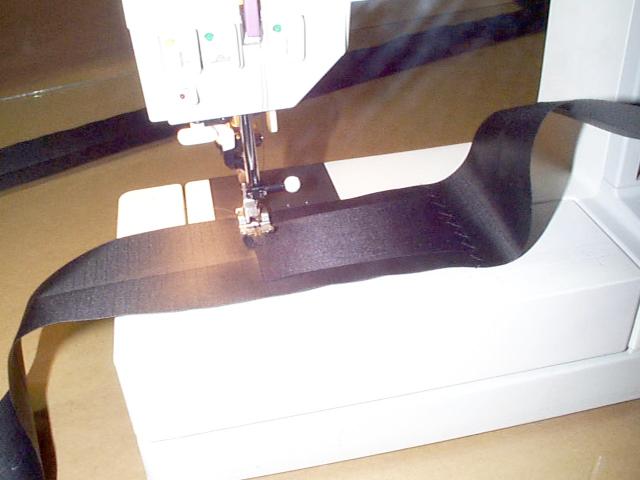
If you are using 3" 1.5 ounce rip stop nylon fold it down the center the entire length of the leading edge. Then position the 4"x2" 3.9 ounce dacron reinforcements over your marks (centered from side to side). Hold them there with seam stick. If you are cutting your own leading edges place the 4" wide strips we made earlier across your leading edge material over the marks for the leading edge cut outs. If you are cutting your own leading edges you should have a strip of material 6" wide and is now 62.25" long (this would make two leading edges). To hold this material in place I hot cut the ends of the reinforcement material off just at the edge of the leading edge bonding the reinforcement material to the leading edge strip. I also partially hot cut through the reinforcement material at the center where the two leading edge pieces will eventually be separated.
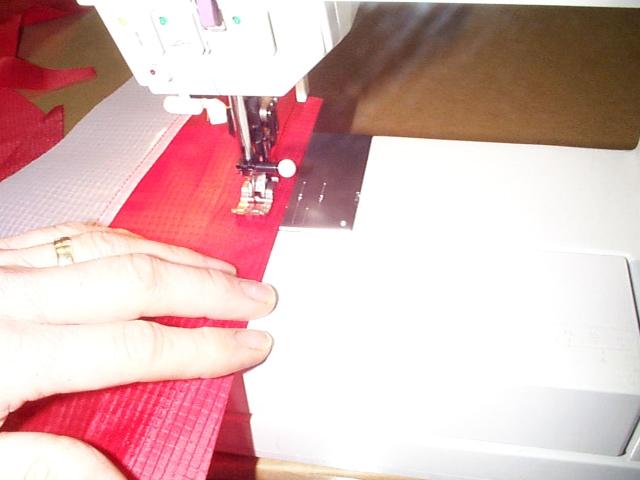
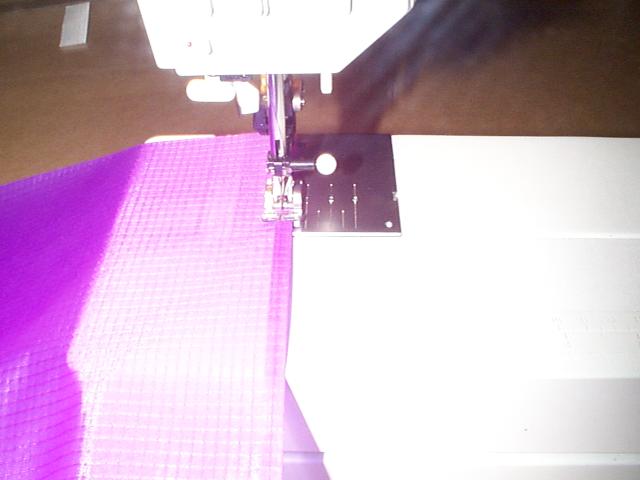
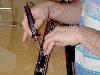
At this time sew the reinforcement to the leading edge. Remember sew the reinforcement to the inside of the leading edge pocket. Use a zigzag stitch to sew the reinforcement on the leading edge and sew as close as possible to the edges as you can. Sew as close to the edge of the reinforcement as possible so the spar has no chance to get lodged between the leading edge and reinforcement when you frame the kite. It is only necessary to sew across the reinforcements, not all the way around them. If you are making leading edges from cloth instead of leading edge strips you can separate the leading edges now with a hot cutter.
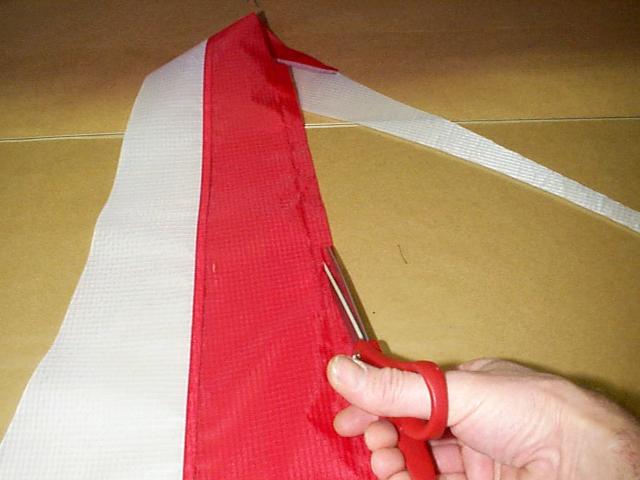
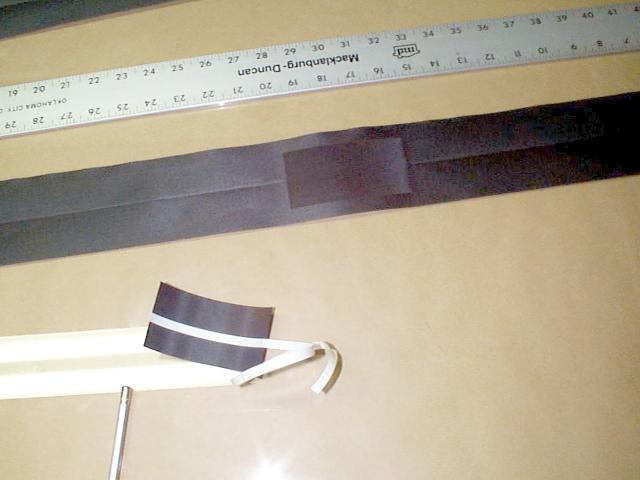
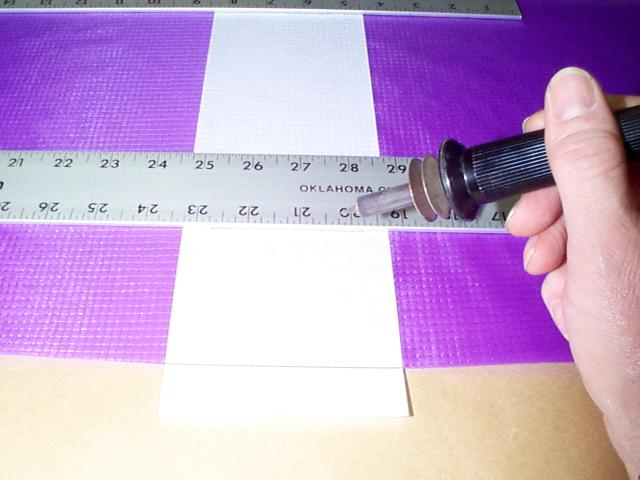
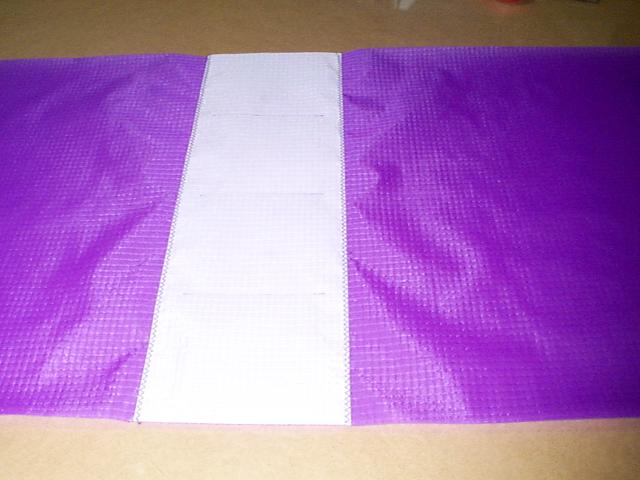
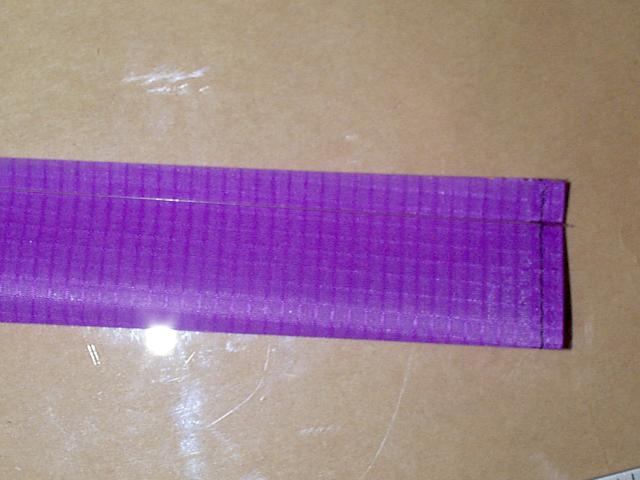
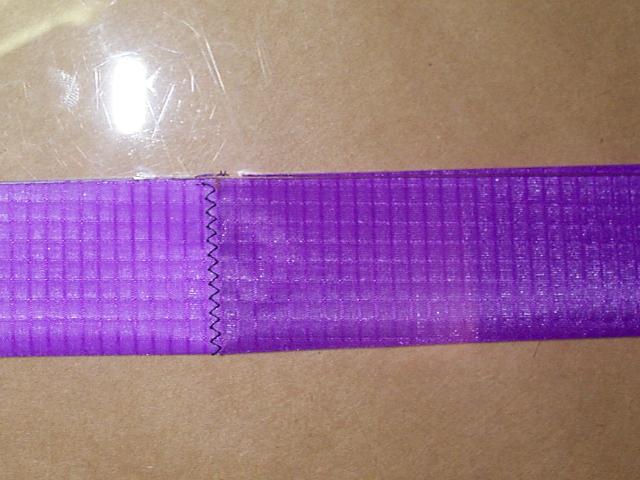
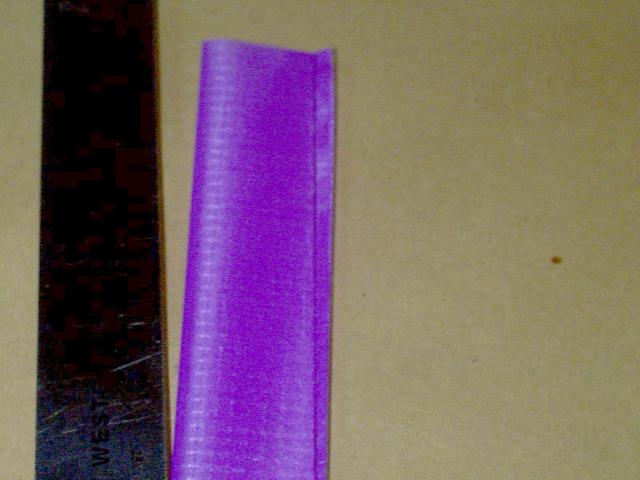
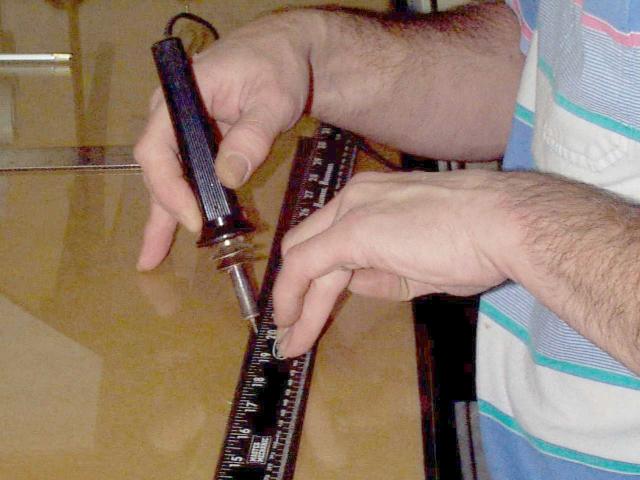
Once we have the reinforcements sewn on and the leading edge pockets folded in half, we are going to taper the ends. The left hand picture shows the wing tip end. Measure over 28 mm from the fold and make a mark. Lay a straight edge from the mark up to the beginning of the lower reinforcement (18.5"). Hot cut along the straight edge. This tapers the wing tip and seals the leading edge pocket closed. On the nose end of the leading edge pocket make a mark 32 mm from the fold and taper that end back to the top of the upper reinforcement (11") again sealing the leading edge. Now lay a straight edge from the upper leading edge reinforcement to the lower leading edge reinforcement approximately 1/4" in from the open edge. Hot tack along this line to seal the remainder of the leading edge together. This will effectively give you one piece of cloth to sew to the sail. Don't worry about being extremely neat with this hot tacking as this part of the leading edge will be rolled under in the seam.
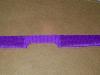
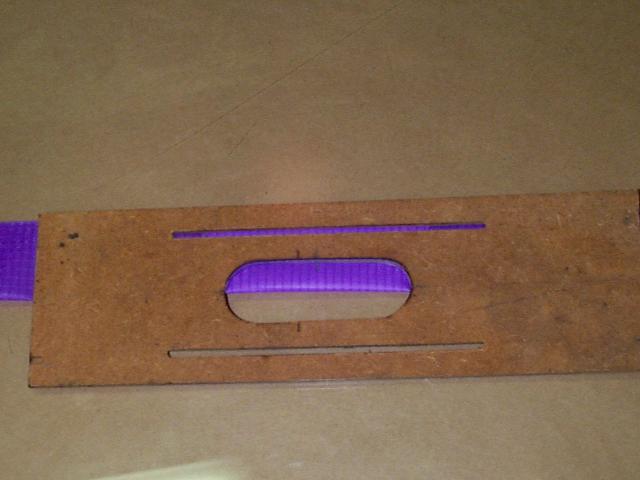
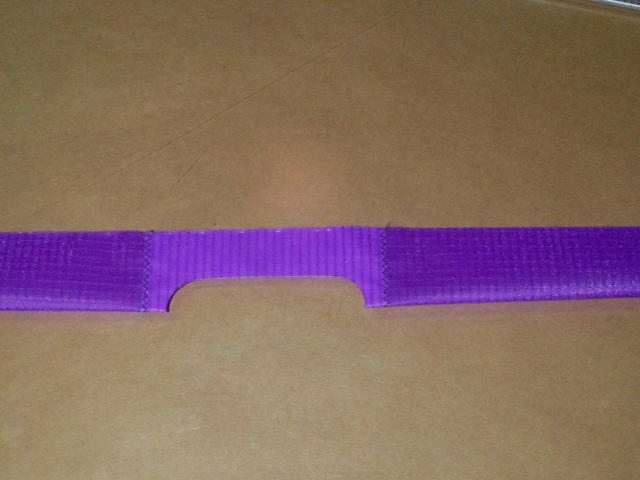
The leading edge cut outs are 3" long and 1/2" deep and should be centered on the reinforcements. I have a template I use for this purpose. Hot cutting these cut outs seals the reinforcements to the leading edge. It also seals the leading edge pocket shut and makes it far easier to sew to the sail. Open these pockets later when you put the spars in the kite.