PATTERN
CREATION:
Only five
patterns are required for this kite, one for the inside pieces, three for the external skin, and one for the points. In addition, familiarize yourself with the Basic Layout Sketch, page #3, and the Cell Definition Sheet page #4.
The patterns are
designed for maximum material usage by rough cutting strips of
.75 ounce ripstop (either 54” or 56” rolls) about
12” wide. Also, if you want to bind in the same color, as I
did, you need to hot cut 1” wide strips using a 1/8”
thick by 1” wide by 5’ long Aluminum Stick as explained
in the (The Modified Bobby Stanfield Method Workshop)
Create the
patterns on oaktag (OAK48). The oaktag pieces should be 14”
or 15” wide. The interior one is created by splicing a one
foot piece on to the 4’ piece with masking tape. They are
universal patterns, which means that strict attention must be
paid to the layout sketch so as to get each piece the required length and
most important, marked and coded before taking the piece off the
pattern on its way to the sew machine. Once again, the system to
be used is the (Modified Bobby Stanfield Method). Briefly, create the pattern in pencil,
spray with #75, position strips of ripstop, cut out using utility
knife with a lite touch, add insig on both sides, bind, mark
& code... Remove and sew.
Where splices
are required to the ripstop, because the piece length exceeds
54” fabric width; after the pieces are bound, put good to
good on the marked line, hot cut to either 1/4” or 1/2”
as you prefer. Straight stitch on the line, turn 1/4” to one
side and zig or triple zig.
|
|
SEW SCHEDULE:
- Finish sew all
individual pieces before assembly; which includes
binding both sides, splices, insig if you desire,
dacron strips on points and at bridel locations.
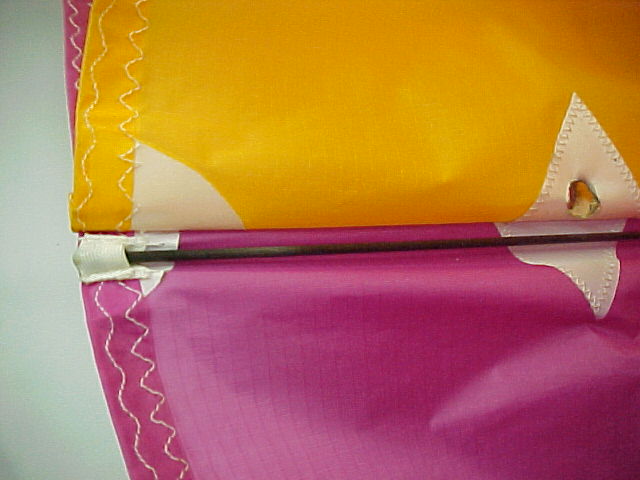
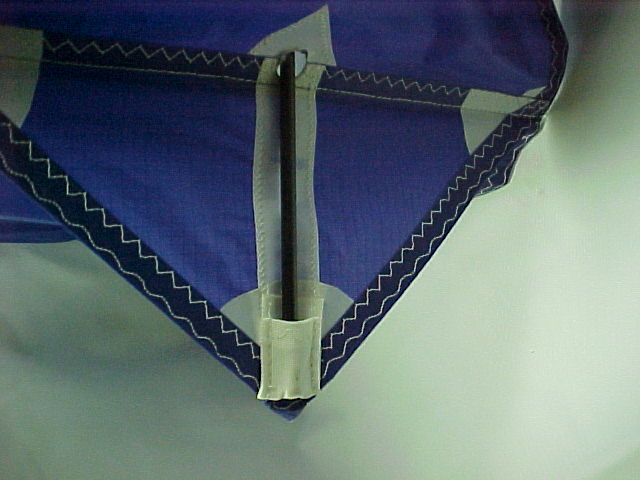
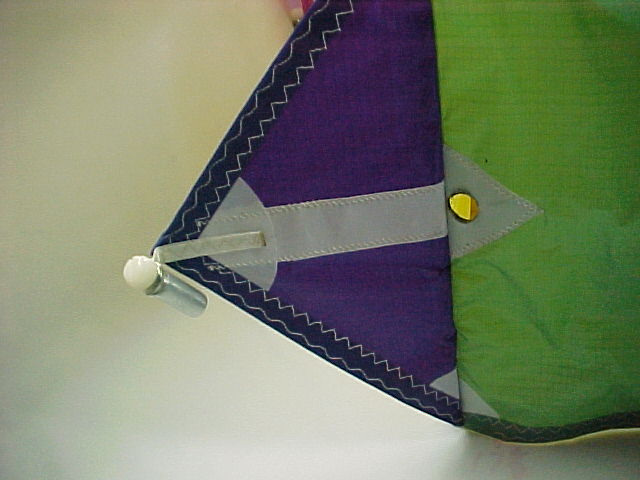
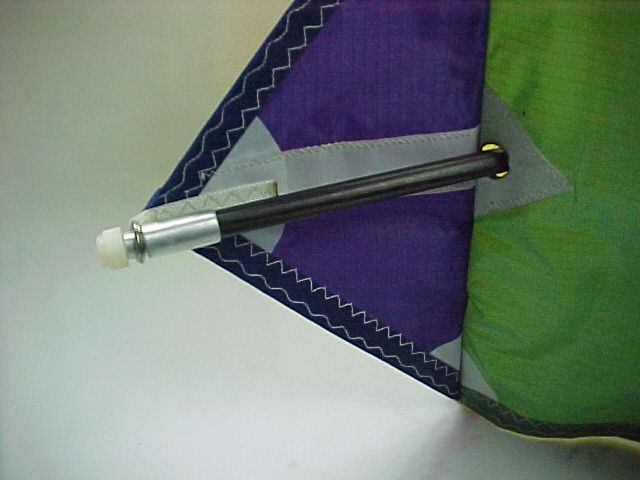
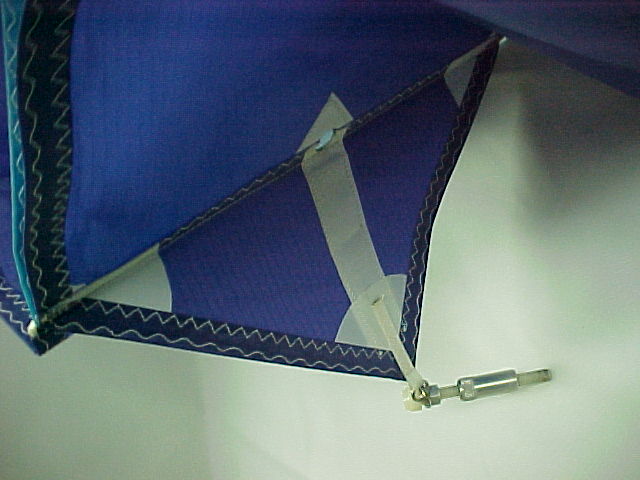
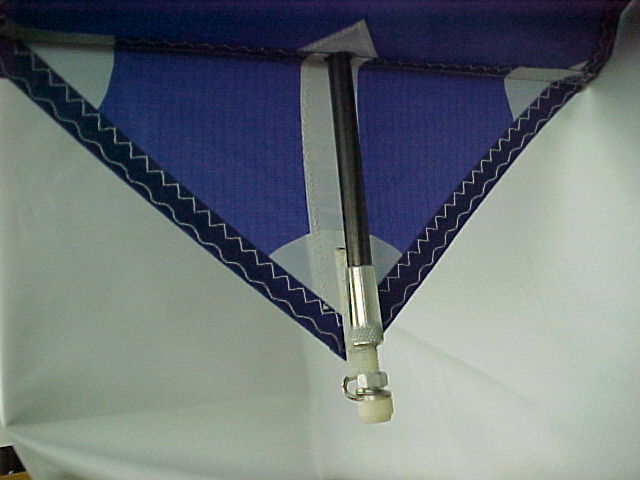
Put pockets on horizontal stick points. Put
Gibian loops on vertical points. See Vertical
& Horizontal Point Detail, page # 10. See
Photo’s A, B, C, D (click on photos to the
left to enlarge)
- Starting at center
and working left & right, create 2 halves of
kite. i.e.: sew together green & light blue,
and yellow and orange. Then G1, H1, G2, H2, in
raspberry; C1, D1, C2, D2 in purple.
- Combine to complete
interior left and interior right parts.
- Add exterior pieces
on both halves. Note: Clothes pins are used to
hold pieces together on cut table with layout
plan, then carry to sew machine and sew, removing
pins as you go, and keeping all fabric to the
outside of the needle.
- Add pockets &
points, be careful to be sure point to stick side
is kept correct. Sew on short longeron pockets.
See Stick Location Sheet, page
# 5.
- Sew both halves
together, yes I know the sew machine is inside
the cell this time, but its only for 10 &
1/2” each sew. Add last two points, and,
longeron pockets down center seam. Pay attention
when placing pockets for short longerons so as to
keep longerons out of the way for vertical &
horizontal sticks. See Stick Location Sheet,
page #5.
- Drill holes for the
vertical and horizontal sticks with 25 watt
soldering iron with circular tip. (OKO85). While
iron is hot, very carefully burn off all thread
ends on entire kite. See Vertical & horizontal
pocket detail, page # 10 and stick location plan, page #
5
|