The Mesh Sreening
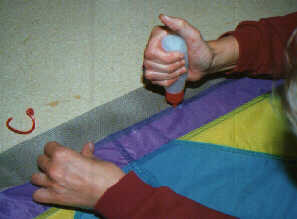
Place the kite with the back facing up. Take the mesh sreening and place it on top of the folded edge, make sure to overlap with 10 mm. Then glue..
Chapter 2 (Cassiopeia)
The Mesh Sreening
Place the kite with the back facing up.
Take the mesh sreening and place it on top of the folded edge, make sure to
overlap with 10 mm. Then glue..
Fold
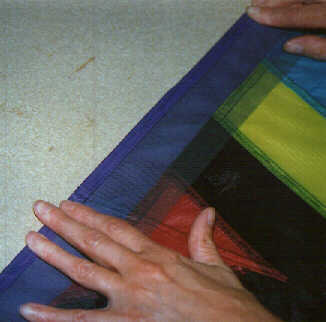
Fold 10 mm. in and glue.
 |
 | |
| This is the final result. |
Second fold
Once again fold back the Mesh Sreening, it should
now be facing up. Then glue.
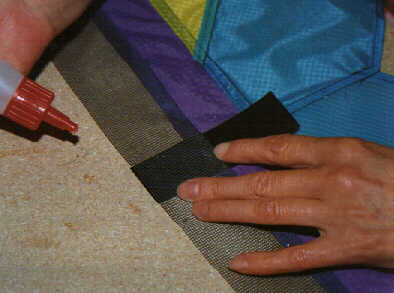
Take the two small pieces of dacron and glue
them to the Mesh Sreening. It might be necessary to loosen the Mesh Sreening in
the ends, where the reinforcement is to be placed - check the template for more
information.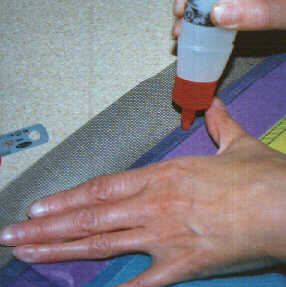
Strengthening the sides
Take a solder iron and cut 2 pieces
of dacron, as shown in the template, then glue the pieces on both the front and
the back of the kite (4 pieces in all).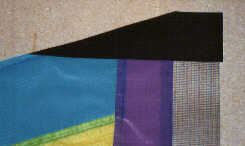
Sowing
Now it
is again time to sow (at last). 2 times along the side of the kite (as you can
see in the picture, I have drawn to lines on the dacron to help me not to sow
outside the fabric). Remember to make enough space between the sewings for the
rivets to be. You are aloud to cheat and peek ahead in the guidance.
Then it
is time to sow all the way around the gusset shaped pieces of dacron.
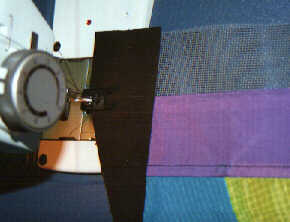
An other reinforcement
Cut another 2 pieces of reinforcement as
shown in the drawing below and then glue and sow them on to the kite. You
should, for the time being, not worry about the "pockets" ("tunnel") in the top
of the picture, I will get back to those later.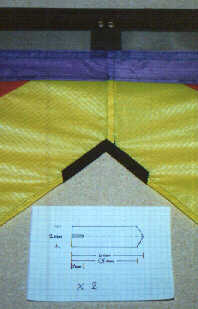
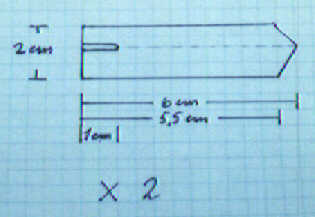
Dacron "pockets"
("Tunnel")
Take a 6cm. width piece of dacron and a bit longer than the
width of the kite, now make a 20mm. hem. Then sow it. Make a hard fold on the
middle of the dacron. Glue the dacron to the back of the Mesh Sreening. You
should have 30 mm. Mesh Sreening between the "pocket" ("tunnel") and the fabric.
The excess dacron is cut away from the other end - be sure to leave an extra 20
mm. to be folded. Fold.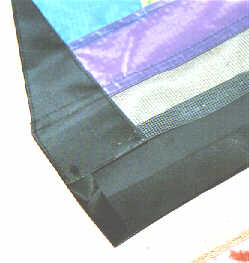
Sow and Glue the "pocket" ("tunnel")
If you have
not glued to close to the end it should be possible to sow the hem.
See the
picture.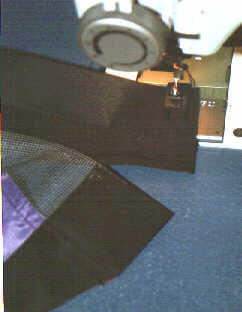
Then glue on the "pocket" all the way.
Then an other break
Go directly to Chapter 3