Make A Kite For KidsThe MBK Tiny Tots DiamondHere are step-by-step instructions to make a very simple kite for kids. It involves no gluing. Just cutting with scissors, sticking with tape and one knot. It's so quick that if any damage occurs, you can have another one ready in minutes! That's our 2 1/2 year old Aren up there in the video, towing this kite along after being prompted to 'run! run! run!'. He had fun! Any child up to the age of 6 or so should enjoy doing the same. If there is a bit of wind, the kite will fly while the child just stands and hangs on to the winder. Kite making for kids doesn't take much. With no previous experience, my wife made this design in about 35 minutes. And yes, it flew great! She commented that if she made another one, the time taken would be more like 15 minutes. Absolutely everything needed is in the following list:
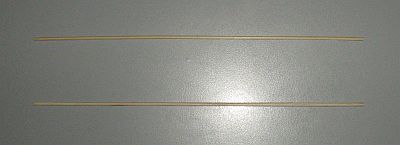
The following 10 steps are designed for maximum speed, at the expense of some accuracy. However, the human eye is good at lining things up and dividing lengths in 2 - so the end result should fly fine! It looks a lot, scrolling through, but each step is very short and easy. Step 1. Snip the points off both bamboo skewers.
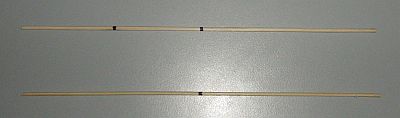
Step 2. By eye, mark the center points on both skewers. Then, on one of the skewers, make another mark exactly half-way between the first mark and one end of the skewer. No fiddly measuring involved in this kite for kids project!
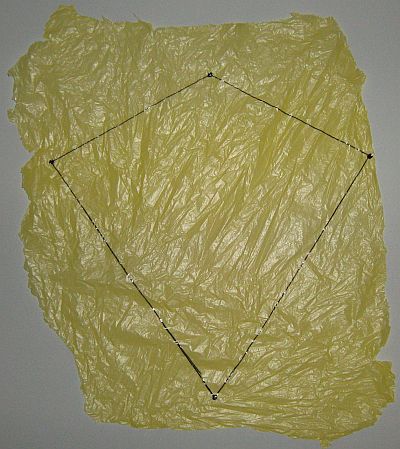
Step 3. Open out some colored plastic, lay it flat on your work space or table top, and arrange the skewers as shown.
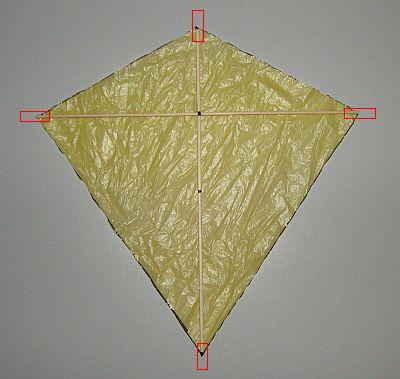
Step 4. Mark the positions of the skewer ends with the marker pen, making dots. Then remove the bamboo skewers and join the dots, using the pen and ruler.
Step 5. Cut out the diamond shape with the scissors, then lay down the vertical skewer, then lay down the horizontal skewer.
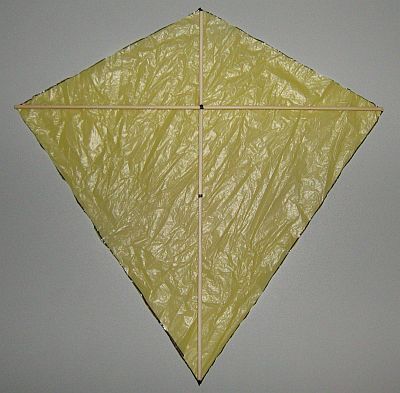
Step 6. Use 4 short rectangles of tape to wrap around the ends of the skewers. First do the vertical skewer, sticking tape down as indicated by the red rectangles in the photo. Wrap the tape over and under, onto the other side of the plastic. Then do the ends of the horizontal skewer. This is probably the trickiest part of this 'kite for kids' project.
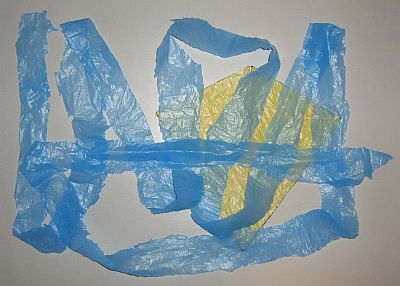
Step 7. Cut out a ribbon of plastic, about as wide as 2 or 3 adult fingers, and at least 10 times as long as one skewer. Attach sections together with tape if you can't get the length out of one bag or sheet. Ragged or wavy edges don't matter at all, in fact it will work even better!
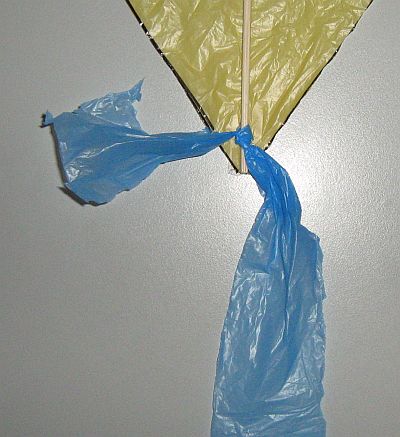
Step 8. Thread one end of the plastic ribbon between the bamboo and the plastic, near the bottom end of the kite, and tie it off.
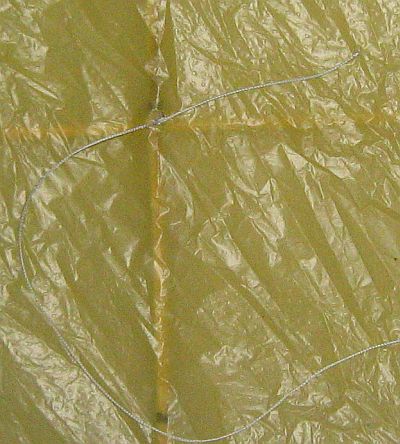
Step 9. Where the skewers cross, poke a small hole in the plastic, using the point of another skewer. Now cut off 15 meters or 50 feet of your string or strong thread, poke one end through and securely tie the crossed skewers together. Do the knot whichever way you find easiest. This step might be the second trickiest part of making this kite for kids!
Step 10. Wind the remaining string or thread onto a small block of wood or stiff card, starting from the free end. There's no need for a fancy shop-bought reel when making a kite for kids!
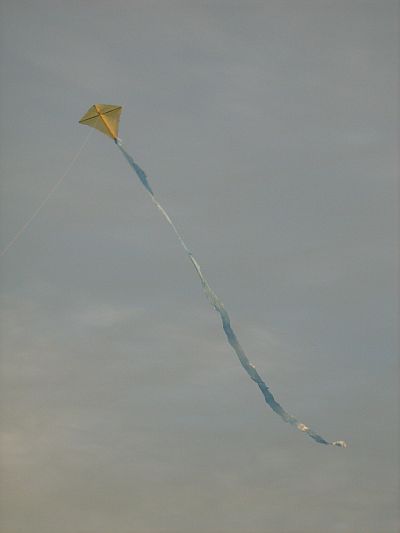
You are now ready to fly the kite! Weather permitting, of course. The shot below was taken near sunset. See how the kite and its tail are being lit from the right...
If there is no wind, with this kite kids can still have fun. Just encourage the child to run around towing the kite. It's a good idea to get the diamond in the air yourself first, with the child holding the winder. Then the child can just start running. Hope you've enjoyed this experience of making kites for kids!
Last updated: 17 Jan 2009 Return to Home Page from Make A Kite For Kids
|